There was an interesting post over iso.500px.com a while back. So interesting that we thought we would make practical use of it.
You can credit Jay Russell for this inexpensive way to create some epic light. The post details out what you need over the local Home Depot or hardware store depending on your geography.
Since we already had some 3/4 inch plywood onsite we decided to go with that to save a few dollars. In actuality, we decided on a thicker wood anyways as the ring would and will get a considerable amount of use for portrait shoots.
So we set off to give it a try by first purchasing all of the required hardware.
DIY Light Ring
Taking in to account the knots, the centre was marked on our 2 x 2 square piece of plywood.
Taking in to account the knots, the centre was marked on our 2 x 2 square piece of plywood.
Now placing the light sockets down, find the inner diameter ad mark it for cutout.
Clamped down to the ancient Black & Decker work bench for some cutting.
Here is the outer ring cut.
Center ring now removed.
One thing that wasn’t mentioned in the article was sanding and filing. Forward think when making one of these and file the edges down before you start mounting hardware to it and finish. Nothing worse than getting a massive splinter while out on a job.
Here you can see the some filing progress. Tedious work but well worth it.
Its a good thing to check in to make sure everything looks good before the wiring process begins. That will become pretty permanent and you won’t want to take it all apart if you goof it up.
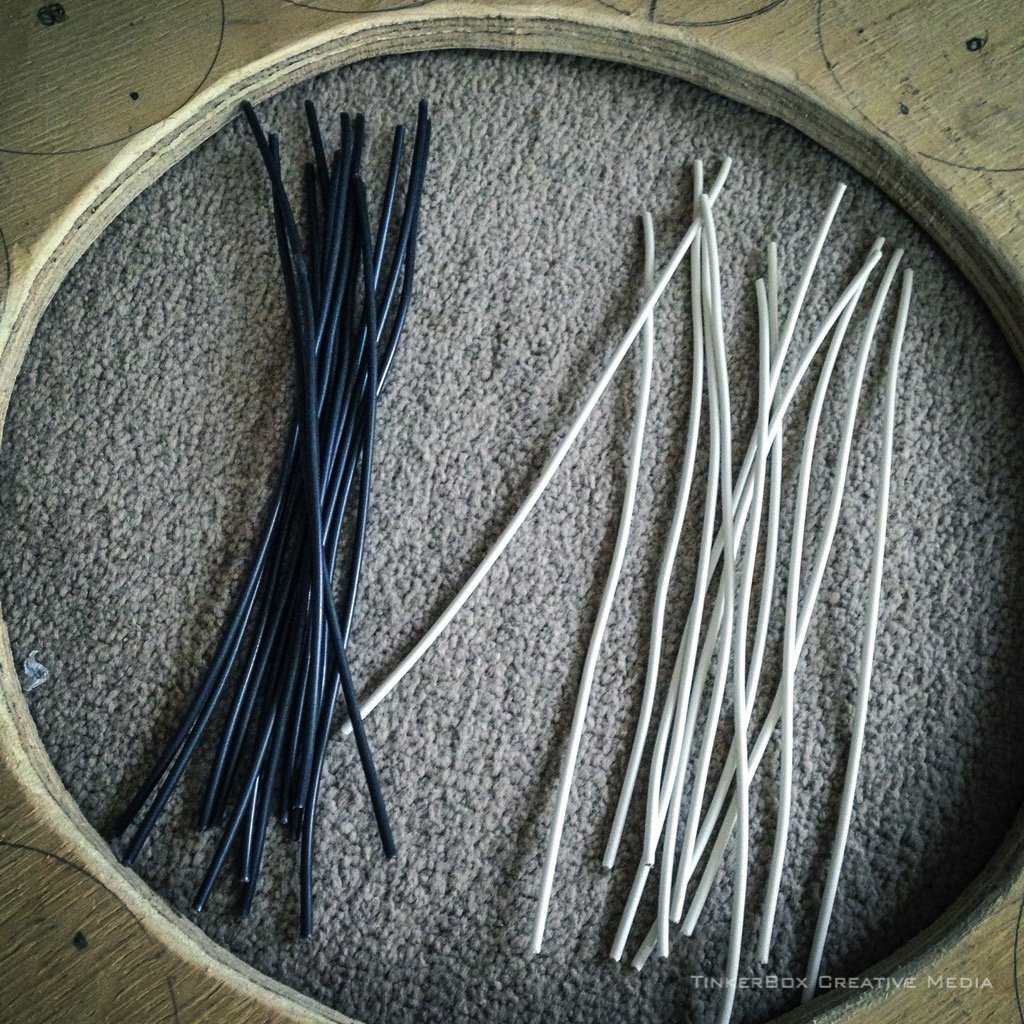
12 black and 12 white wires at 10″ per wire.
Now you have to strip ’em all. About 3/4″ should do it.
So we decided to paint ours. You will see why later.
Let the wiring begin!
All 12 wired up. Took a while so be patient. There isn’t a whole lot of space to work with. The downside to using the 3/4″ plywood was not cutting the wires long enough. They just fit.
So we did go with a 600w dimmer switch. The other alternative would have been to create two circuits and run two of them to hit 1200w for all of you light junkies. (Always remember to be safety conscious people you are working with electricity here!!! I don’t see why anyone would want to jam 1200w in to one of these, but the question did come up during a shoot with it.)
All wired and buttoned up. Now for the real test.
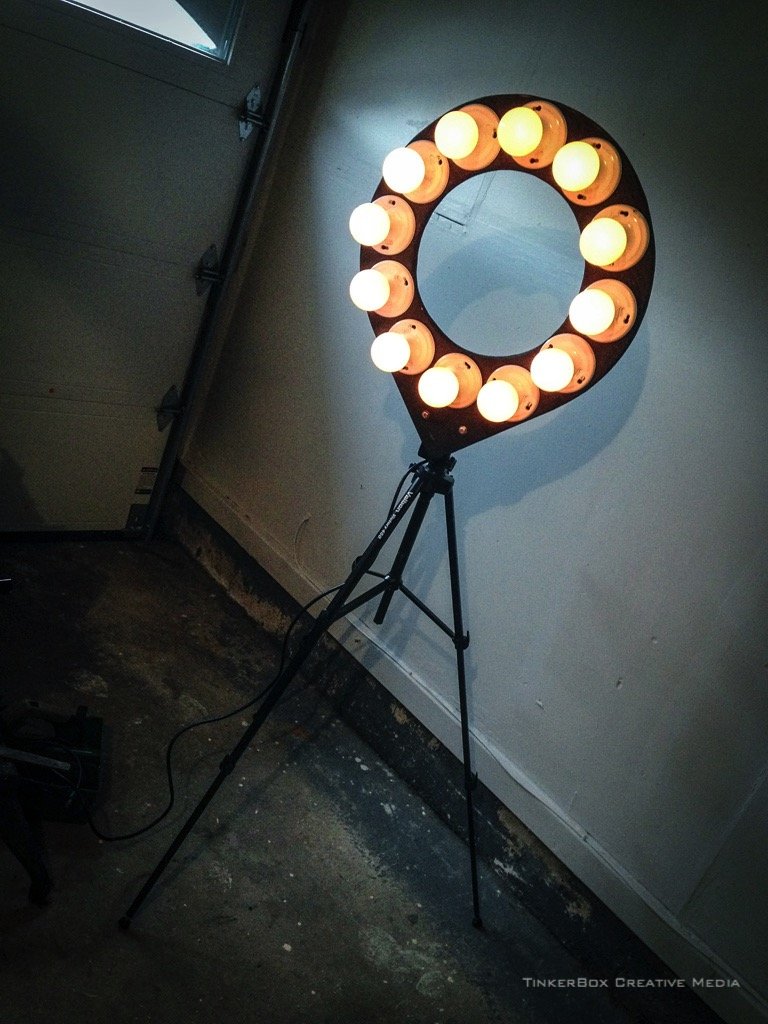
Works like a charm!
We used a small steel angle bracket and fab’d up a DIY mount for use with an old tripod kicking around the shop.
Quick little test shot with an iPhone 5. As you can see this is going to work out famously for some shoots!
Check out the 500px article here for the original post and full instructions for the build.


